
If your furnace coughs up a cloud of dust on a chilly desert night, you’ll feel the sting of a missed tune‑up faster than a heat wave hits the Strip.
North Las Vegas weather swings hard—blazing summers, crisp winters, and that relentless desert dust that loves to clog filters. One neglected screw or dirty coil can turn a reliable system into a money‑draining nightmare.
That’s why we’ve boiled down the essential steps into a no‑nonsense checklist that even the busiest homeowner can follow. From filter swaps to coil inspections, each item is designed to keep your HVAC humming and your utility bills in check.
Ready to lock in comfort and dodge costly repairs? Let’s dive into the checklist and give your system the TLC it deserves.
Seasonal Inspection Schedule: What to Check and When
North Las Vegas weather doesn’t wait for you to get your act together, so a calendar‑driven inspection plan is the only way to stay ahead of a breakdown. Mark the dates, grab a flashlight, and run through the list before the season flips. A quick look now saves you a pricey repair later.
Spring (March – May)
- Turn off the AC, then inspect the outdoor condenser for debris, spider webs, and cracked fins.
- Check the furnace blower motor for dust buildup; a clean motor runs smoother and lasts longer.
- Test the thermostat’s battery and calibrate the temperature settings.
Summer (June – August)
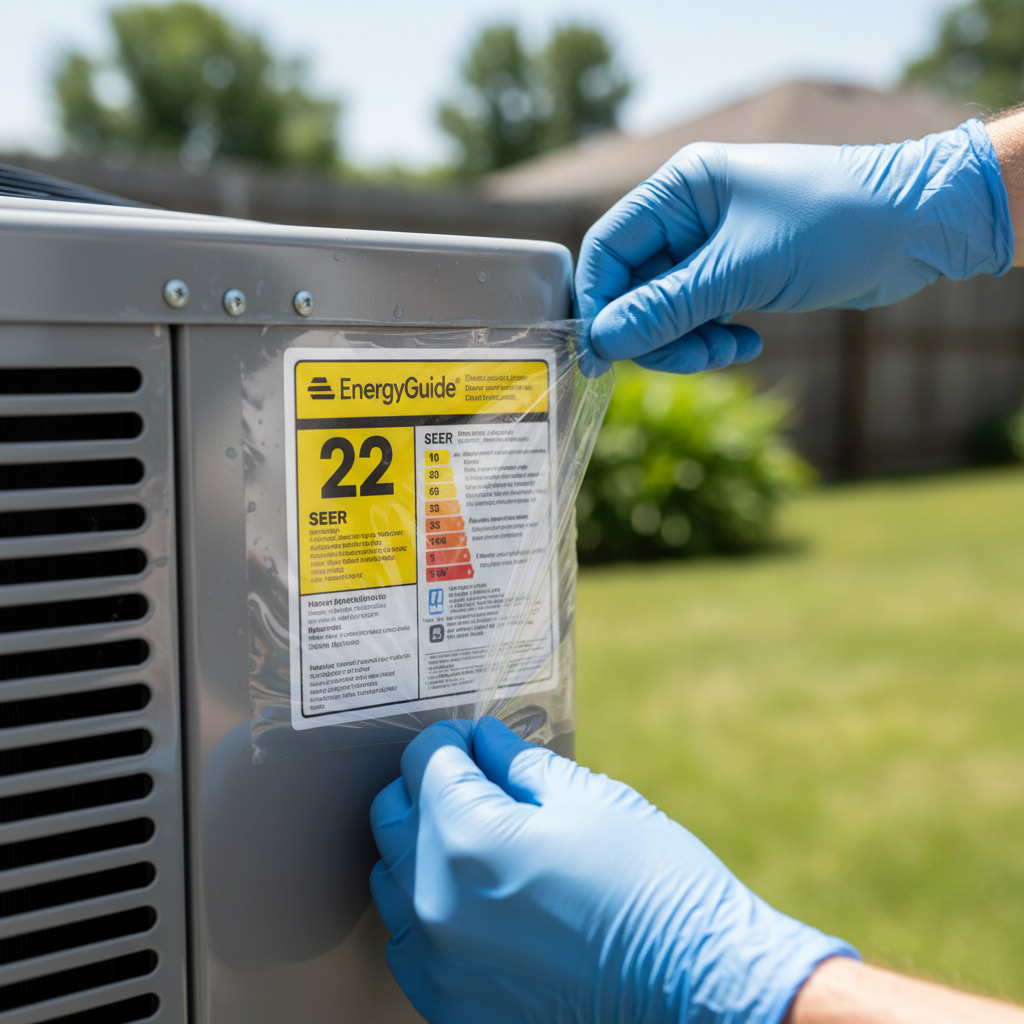
- Verify refrigerant pressure; low levels mean a leak that can melt your wallet.
- Clean the evaporator coil inside the air handler; a dirty coil spikes your electric bill.
- Run a full‑cycle test: cool the house to the set point, then watch the system shut off on its own.
Fall (September – November)
- Swap the furnace filter to a higher‑MERV rating if you’ve been battling desert dust.
- Inspect the heat exchanger for cracks; a cracked unit can leak carbon monoxide.
- Seal any visible gaps in ductwork before the heater kicks in.
Winter (December – February)
- Check the pilot light or electronic ignition for proper flame.
- Measure the furnace’s output with a combustion analyzer; low output means a service call.
- Run the system on high for 15 minutes to confirm warm air is reaching every room.
Filter Types, Replacement Frequency, and Proper Installation
Choosing the right filter is the first line of defense against the desert grit that loves to settle in your ducts. Fiberglass, pleated, electrostatic, and HEPA each have a sweet spot, and picking the wrong one can choke airflow faster than a sandstorm.
Common Filter Types
- Fiberglass – cheap, disposable, 1‑3 µm filtration; good for short‑term use.
- Pleated – higher MERV rating, catches pollen and fine dust, lasts 3‑6 months.
- Electrostatic – reusable, attracts particles with static charge, needs monthly cleaning.
- HEPA – 99.97% capture of 0.3 µm particles, best for allergy sufferers, may require a stronger blower.
Once you know the filter, set a schedule that matches your home’s traffic. North Las Vegas dust levels mean you’ll swap a pleated filter every 2‑3 months, while an electrostatic can stretch to 6 months if you vacuum the coil regularly.
How Often Should You Change?
- Spring & fall – check every 30 days; high turnover of outdoor air.
- Summer – replace monthly if you run AC >8 hours a day.
- Winter – inspect after each heating cycle; dust settles faster in dry air.
Don’t wait for a “dirty air” warning on your thermostat. A quick visual check—if you can see more than a thin veil of dust, it’s time for a new filter.
Installing the Filter Right
- Turn off the system before you reach in; a sudden surge can damage the motor.
- Note the airflow arrow on the frame; it must point toward the blower, not away.
- Fit the filter snugly; gaps let unfiltered air bypass the media.
- Close the return grille securely; a loose latch can rattle and pull the filter out.
Follow these steps and you’ll keep the desert out, the air clean, and your HVAC humming like a well‑tuned piano.
Cleaning and Maintaining Coils, Condensers, and Evaporators
Why Coils Matter
Dust and sand settle on the evaporator and condenser coils faster than you can say “heat wave.” When the fins get clogged, airflow drops and the system works harder, spiking your electric bill.
Typical warning signs include:
- Weak airflow from vents
- Ice forming on the evaporator
- Frequent short‑cycling of the furnace
Step‑by‑Step Coil Care
Turn off power, then gently spray the coils with a garden‑hose mist. Let the water soak for a minute, then use a soft brush to dislodge stubborn grit.
Finish with a coil‑cleaner foam—apply, wait 10 seconds, and rinse. Don’t forget to dry the fins with a clean rag before restoring power.
Condensers & Evaporators
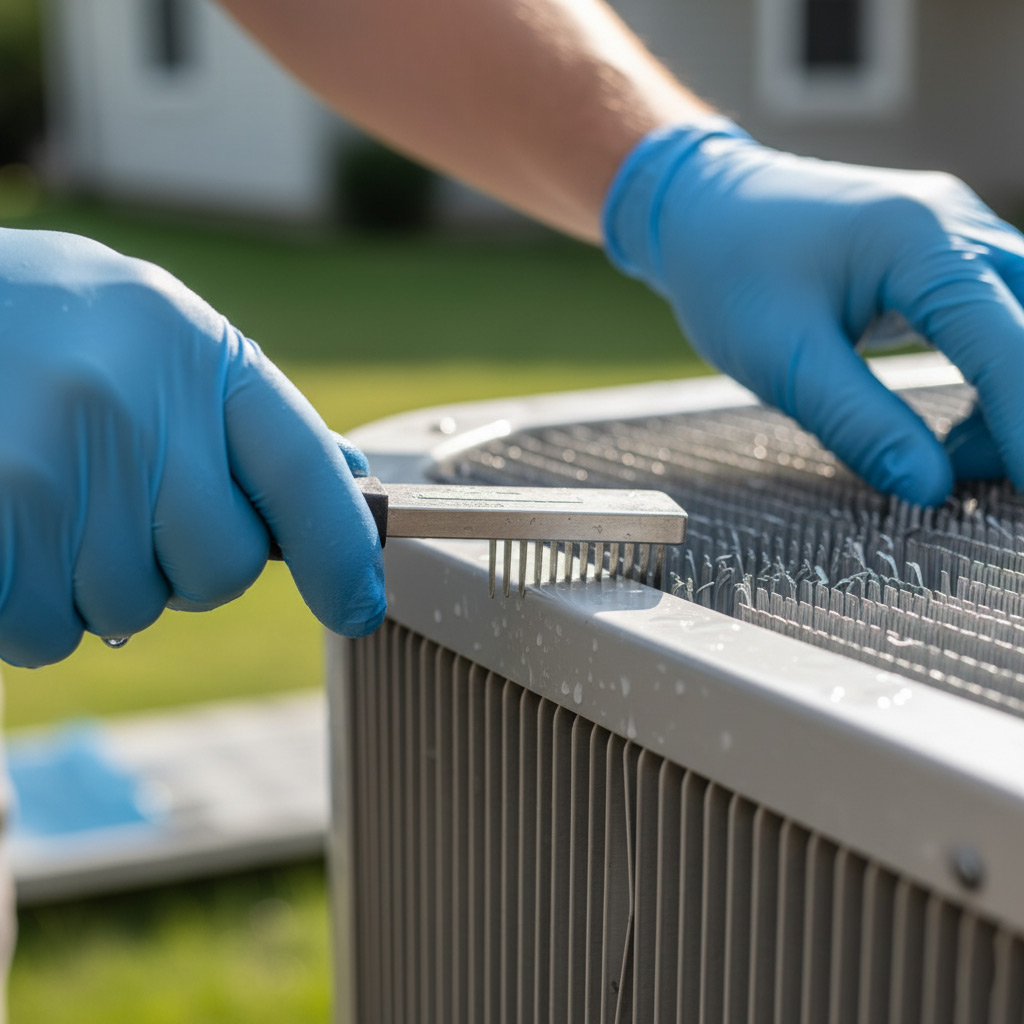
The outdoor condenser needs a clear perimeter. Trim back shrubs, sweep away debris, and check the fan motor for wobble.
Inside, the evaporator sits behind the air handler. Remove the access panel, inspect the fin straightness, and straighten any bent slats with a fin‑comb.
- Schedule a deep clean twice a year (spring & fall)
- Replace the coil‑cleaning spray annually
- Inspect for corrosion; rusted coils should be swapped out
Checking and Calibrating Thermostats and Controls
Even the toughest furnace can’t cheat a thermostat that’s reading the wrong temperature. A mis‑set dial throws your whole house off balance and spikes the electric bill faster than a desert sun.
Why Calibration Matters
When the thermostat says 72 °F but the room feels like 78 °F, your system works overtime. Accurate readings keep the compressor from cycling nonstop, which saves wear and keeps your wallet happy.
DIY Calibration Steps
Grab a reliable digital thermometer and a screwdriver. Follow these quick moves to get your thermostat back on track.
- Turn off power to the HVAC unit at the breaker.
- Remove the thermostat cover and locate the calibration screw (often a tiny Phillips head).
- Place the digital thermometer on the wall near the thermostat, away from direct sunlight or drafts.
- Compare the two readings. If they differ by more than 2 °F, turn the calibration screw clockwise to lower the reading or counter‑clockwise to raise it.
- Re‑attach the cover, restore power, and run the system for 15 minutes. Check the temperature again; adjust if needed.
After you finish, test the “hold” function. Set the thermostat to a specific temperature and watch it stay put for at least an hour. If it drifts, the sensor may be failing and it’s time to call a pro.
Professional technicians have tools that can map out sensor drift across the whole house. A quick service call can uncover hidden wiring issues, dead batteries, or outdated firmware that DIY can’t fix.
Ductwork Inspection, Sealing, and Airflow Optimization
Spotting Leaks Before They Cost You
In a desert home, a single crack can waste up to 30% of heated or cooled air. Walk the visible runs with a flashlight; look for dust piles, loose connections, or sagging sections. If you feel a draft where there shouldn’t be one, you’ve found a leak.
Sealing the Gaps
Once you’ve located the trouble spots, it’s time to lock them down. The right sealant makes the difference between a comfortable home and a money‑sucking furnace.
- Mastic tape – perfect for metal ducts, stays flexible.
- Foil‑backed duct tape – a quick fix for small holes.
- Spray‑on foam sealant – fills irregular gaps in hard‑to‑reach corners.
Apply the product, press firmly, and let it cure for the recommended time. A sealed system runs cooler, uses less power, and lives longer.
Boosting Airflow Without a New Unit
Even a sealed network can choke if airflow is blocked. Check each register; make sure it’s fully open and not covered by furniture. Clean the grilles, then measure the static pressure with a handheld gauge – a reading above 0.5 inches indicates a restriction.
Simple tweaks like adding a return air grille in a central hallway or trimming excess insulation around the ducts can restore balance. When the air moves freely, your thermostat reads accurately and your utility bill drops.
Real‑World Success: Case Study of a North Las Vegas Home HVAC Overhaul
The Situation
When the Martinez family moved into their 2,300‑sq‑ft ranch, the furnace sputtered and the AC barely cooled the living room. Dust‑laden filters and a clogged condenser were the obvious culprits, but a deeper issue lurked in the ductwork.
The Intervention
Our techs followed the checklist step‑by‑step, tackling each weak point before moving on.
- Filter swap: upgraded to a pleated 5‑inch MERV 13, installed correctly.
- Coil cleaning: evaporator and condenser coils soaked, brushed, and rinsed.
- Thermostat calibration: replaced a 10‑year‑old analog unit with a Wi‑Fi smart thermostat.
- Duct inspection: sealed 12 leaks with mastic, added insulation to the attic run.
- Final test: airflow measured at 420 CFM, well within spec.
The Payoff
Within a week, the Martinez home saw a 22% drop in monthly energy bills and the furnace ran without the previous rattling noise. Comfort levels stayed steady from the scorching July heat to the chilly December nights, and the family avoided a $2,400 repair estimate that would have hit them later in the year.
Final Words: Keeping Your System Efficient Year‑Round
Make a habit of penciling a 30‑minute “HVAC check‑in” on your calendar every quarter. Set a phone reminder or use a smart home app to nudge you when it’s time to swap filters, glance at the thermostat, or listen for odd noises. A quick visual scan beats a surprise breakdown any day.
Quick Quarterly Pulse Check
- Inspect the filter housing for cracks or debris.
- Verify the thermostat reads the set temperature accurately.
- Listen for rattles or hissing from the blower and ductwork.
- Glance at the outdoor unit; clear any leaves or sand that may have settled.
When the numbers on your utility bill start to creep up, it’s a signal that something’s off. Track your monthly energy usage in a simple spreadsheet or app. If you spot a 10‑15% jump, run the pulse check above and call a pro before the problem snowballs.
Finally, keep a log of every service call, filter change, and DIY tweak. Document dates, parts used, and technician notes so you can spot patterns over time. When you need a deeper dive, our team is ready—just swing by the HVAC Maintenance page and schedule a comprehensive tune‑up.
People Also Ask
How often should I schedule HVAC maintenance in North Las Vegas?
Most experts recommend a bi‑annual service—once in the spring before cooling season and once in the fall before heating season. This timing ensures both the air conditioner and furnace are inspected and tuned up for optimal performance.
What type of air filter is best for a desert climate?
High‑efficiency pleated filters (MERV 8‑11) capture dust and sand while maintaining airflow. Replace them every 30‑60 days during peak summer and winter months.
Can I clean my own condenser coils safely?
Yes, you can gently brush off debris and rinse the coils with a low‑pressure garden hose. Avoid high‑pressure sprays that can bend fins, and always turn off power before cleaning.
How do I know if my ductwork needs sealing?
Visible gaps, uneven room temperatures, and a noticeable increase in energy bills are signs of leaky ducts. A professional pressure test can pinpoint exact locations for sealing.
What thermostat settings help reduce energy use in North Las Vegas?
Set cooling to 78°F (26°C) when you’re home and raise it 7‑10°F while away. For heating, keep it at 68°F (20°C) and lower it when you’re out to save on utility costs.
North Las Vegas HVAC brings over 15 years of certified expertise to homes and businesses throughout North Las Vegas, NV. Their team of licensed technicians specializes in efficient heating, cooling, and indoor air quality solutions tailored to the local climate. Committed to reliable service and community-focused support, they ensure comfort year‑round for the North Las Vegas community.
Need HVAC?
We deliver rapid, results‑focused solutions that keep your home or business running smoothly in North Las Vegas (89030, 89031, 89032, 89081, 89084) and nearby areas. Our team prioritizes speed and quality so you can move forward without delay.
Request a fast quote